
Under Account → Settings, admins can configure how alerts and financial data work for the whole account. Here’s what each option does and where to set it.
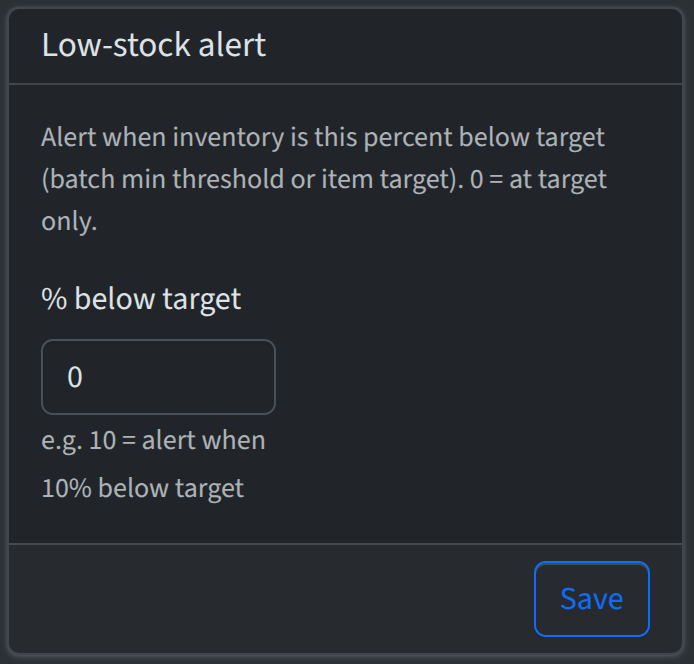
Low-stock alert
This setting controls when a low-stock alert fires. You set minimum quantities (targets) per item type at each location—that’s done in the inventory view. The account setting is a single number: % below target. For example, if you set it to 10, the alert triggers when inventory is 10% or more below the target for that item type at that location. Set it to 0 and you’re only alerted when quantity is at or below the target. Change the value in the Low-stock alert card and click Save. The threshold itself (the target quantity) is still set per location per item type; this setting just defines how far below that threshold triggers the alert.
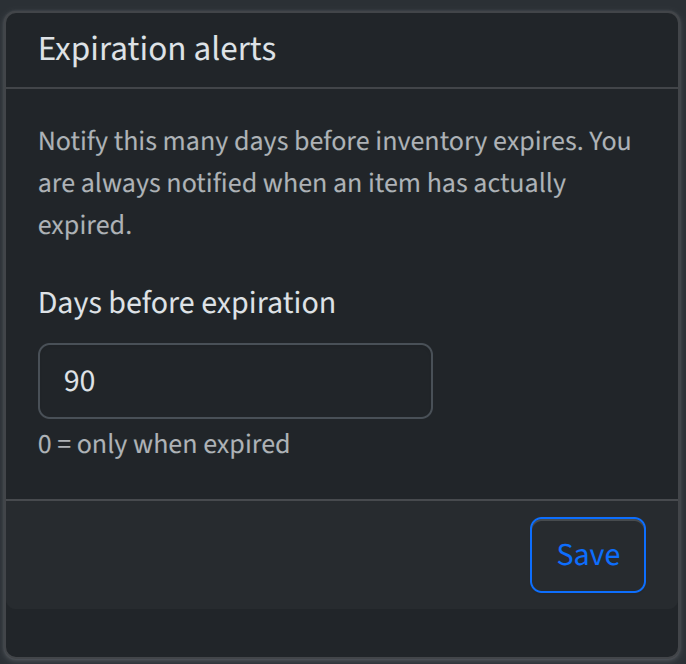
Expiration alert
You can get a heads-up before inventory expires. In the Expiration alerts card, set Days before expiration to how many days in advance you want to be notified—e.g. 90 so you have time to use or replace items. Set it to 0 and you’ll only be notified when an item has already expired. You’re always notified when something has actually expired, regardless of this setting. Enter the number and click Save.
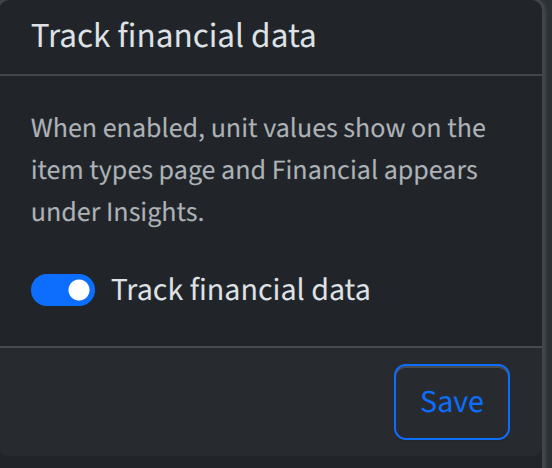
Track financial data
When this is on, you can set a unit value (e.g. cost per unit in dollars) on item types, and Financial appears under Insights for cost and value reports. Turn it off and unit value fields are hidden on item types and the Financial section is hidden in Insights—handy if you don’t track cost. Toggle the switch in the Track financial data card and hit save and the change applies account-wide immediately.
Inspections
In the Inspections card, set days between inspections (default 90). That interval is used to determine when a location’s last completed inspection is considered overdue for banners and Insights. For how inspections work end to end, see Inspections.